Optimal Timing for Motorhome Floor Repairs
Timing for motorhome floor repairs depends on various factors including climate, usage patterns, and the condition of the flooring material. Addressing repairs promptly can prevent further damage, reduce costs, and extend the lifespan of the motorhome. Typically, repairs are most effective when performed during mild weather conditions, avoiding extreme cold or heat which can affect the materials and adhesives used.
Spring and early summer are ideal for floor repairs due to moderate temperatures and lower humidity levels, which facilitate proper adhesion and curing of repair materials.
Repairs should be scheduled when the motorhome has been used less frequently, such as after a period of storage, to allow for proper inspection and minimal disruption.
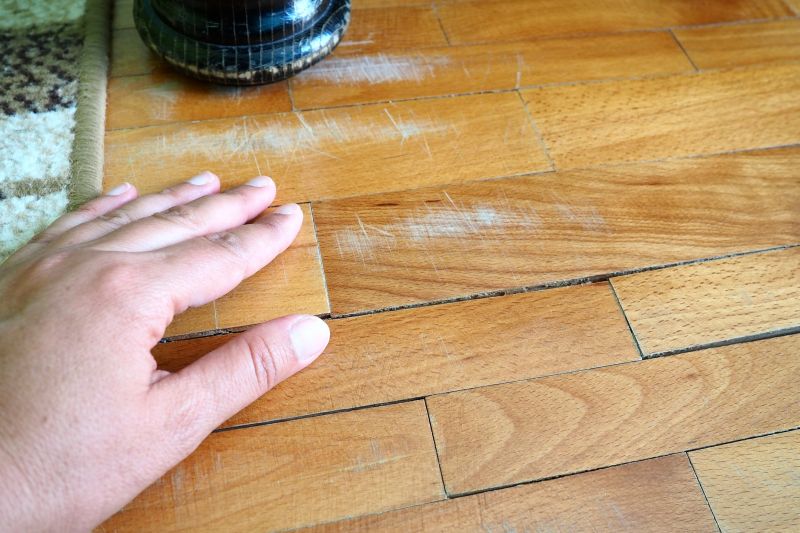
Early detection of floor damage, such as soft spots or water stains, allows for repairs to be made before the damage worsens, making the process easier and more cost-effective.
Avoid performing repairs during rainy or extremely humid conditions to ensure adhesives and sealants cure correctly and the repair lasts longer.
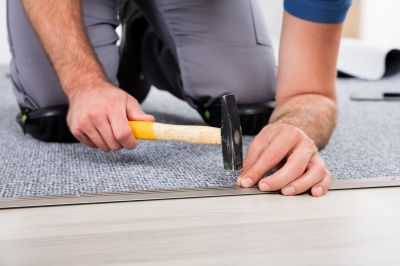
An overview of steps involved in repairing damaged flooring in motorhomes.
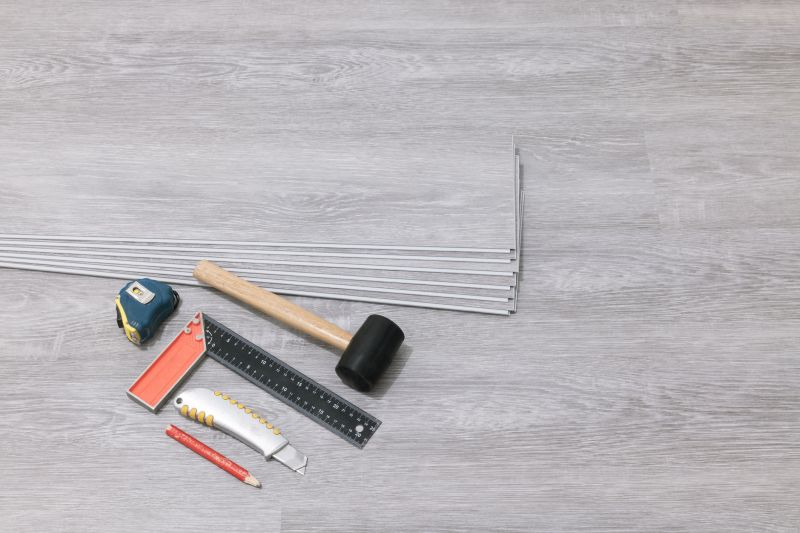
Essential tools and materials for effective motorhome floor repair work.
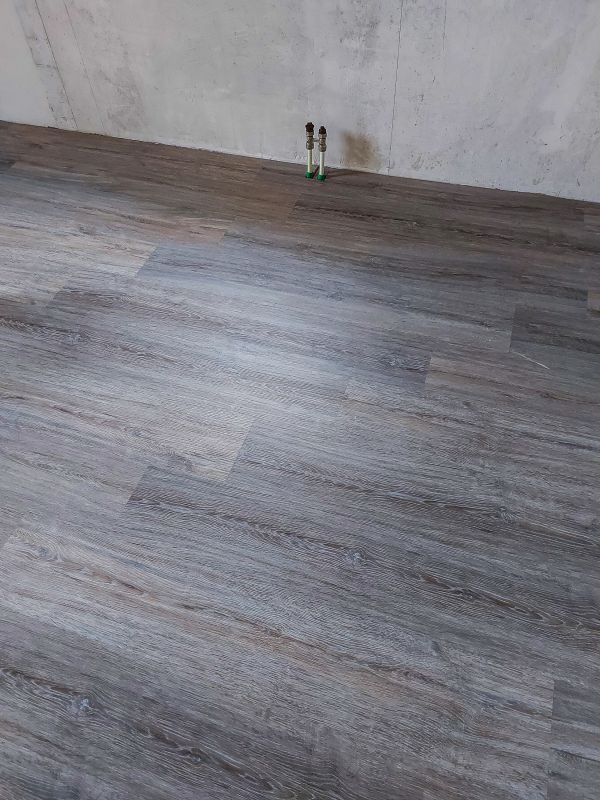
Visual comparison of damaged versus repaired motorhome floors.
Ways to make Motorhome Floor Repairs work in tight or awkward layouts.
Popular materials for Motorhome Floor Repairs and why they hold up over time.
Simple add-ons that improve Motorhome Floor Repairs without blowing the budget.
| Aspect | Details |
|---|---|
| Optimal Repair Season | Spring and early summer are preferred |
| Weather Conditions | Avoid repairs during rain or high humidity |
| Usage Timing | Perform after storage periods or during low usage |
| Material Availability | Schedule when replacement parts are accessible |
| Damage Severity | Early repair prevents extensive damage |
| Temperature Range | Between 50°F and 80°F for best results |
| Humidity Levels | Below 60% for optimal adhesion |
Motorhome floor repairs are a critical aspect of maintaining vehicle integrity and safety. Damaged flooring can lead to further structural issues, water intrusion, and reduced comfort. Regular inspections help identify issues early, enabling timely repairs that can prevent costly replacements. The repair process often involves removing damaged sections, treating underlying issues such as rot or mold, and installing new flooring materials that match the original specifications. Properly scheduled repairs can significantly extend the lifespan of a motorhome and preserve its value.
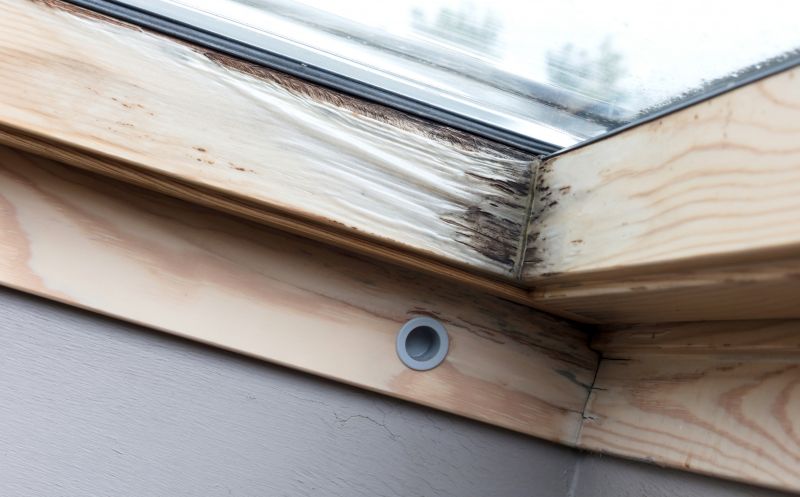
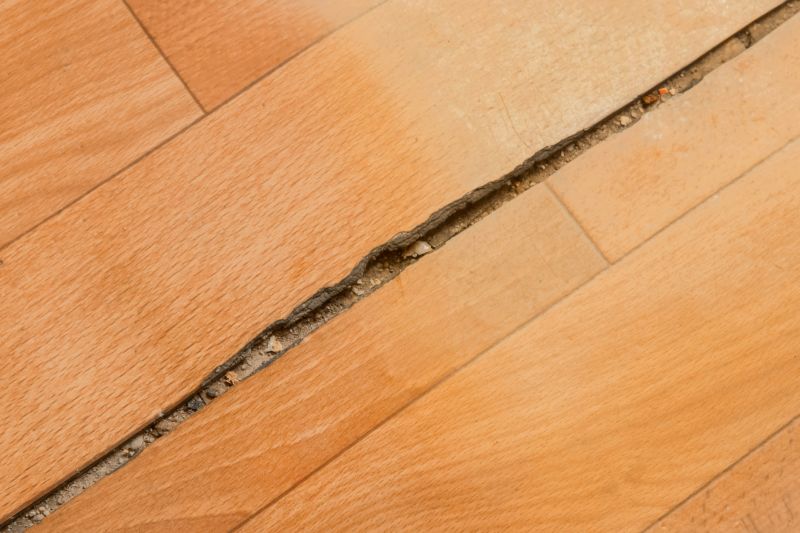
Close-up image showing water damage and rot.
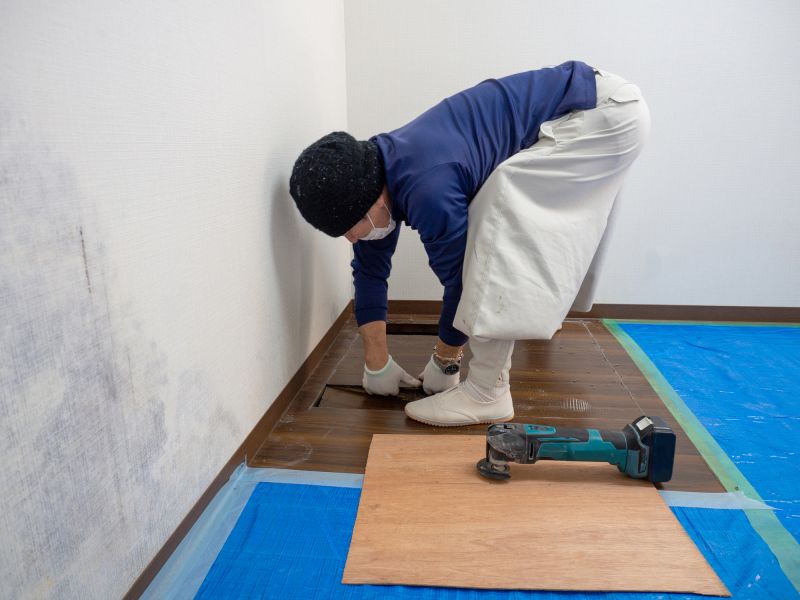
Technician replacing damaged sections of flooring.
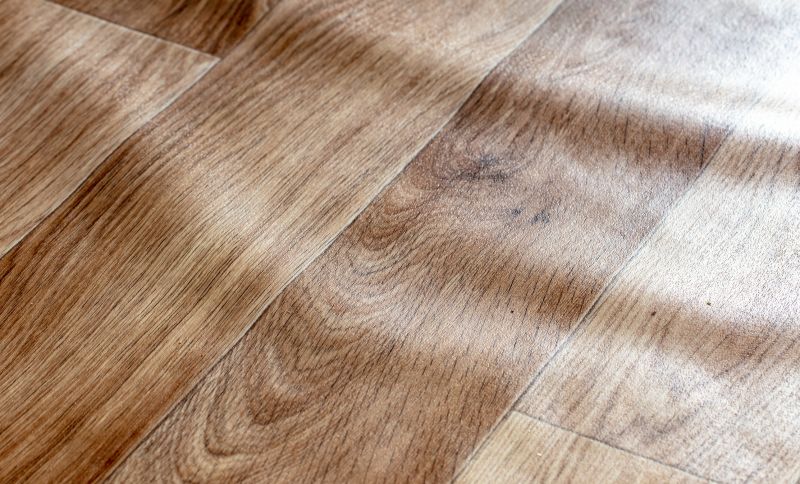
Finished flooring with seamless finish.
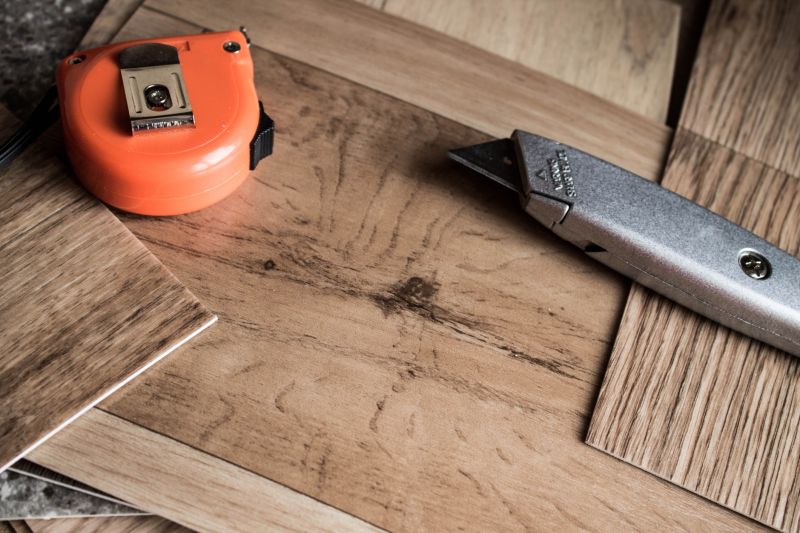
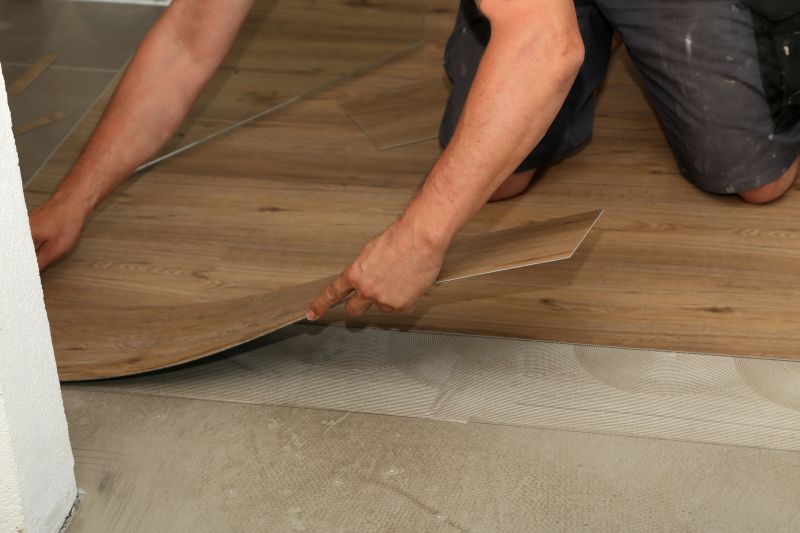
Essential tools including saws, adhesives, and sealants.
High-end options that actually feel worth it for Motorhome Floor Repairs.
Finishes and colors that play nicely with Motorhome Floor Repairs.
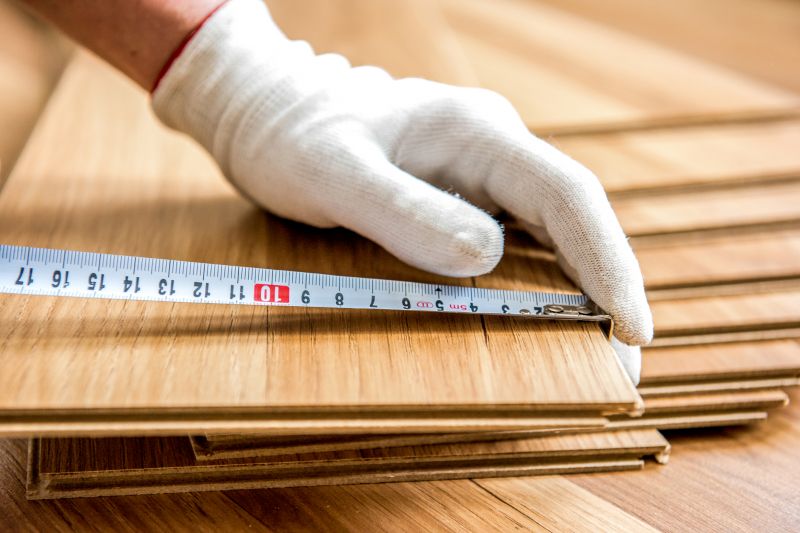
Little measurements that prevent headaches on Motorhome Floor Repairs day.
A 60-second routine that keeps Motorhome Floor Repairs looking new.
Interested in motorhome floor repairs? Filling out the contact form provides an opportunity to discuss specific needs, schedule inspections, and plan repairs at a suitable time. Proper planning ensures high-quality results and long-lasting repairs that maintain the motorhome's safety and comfort.